In-Box
The unit is equipped with a touchscreen that displays trend graphs and detailed numerical data. All interface options include a PC connection for advanced operations and remote access, enabling supplier service personnel to provide technical support when needed.
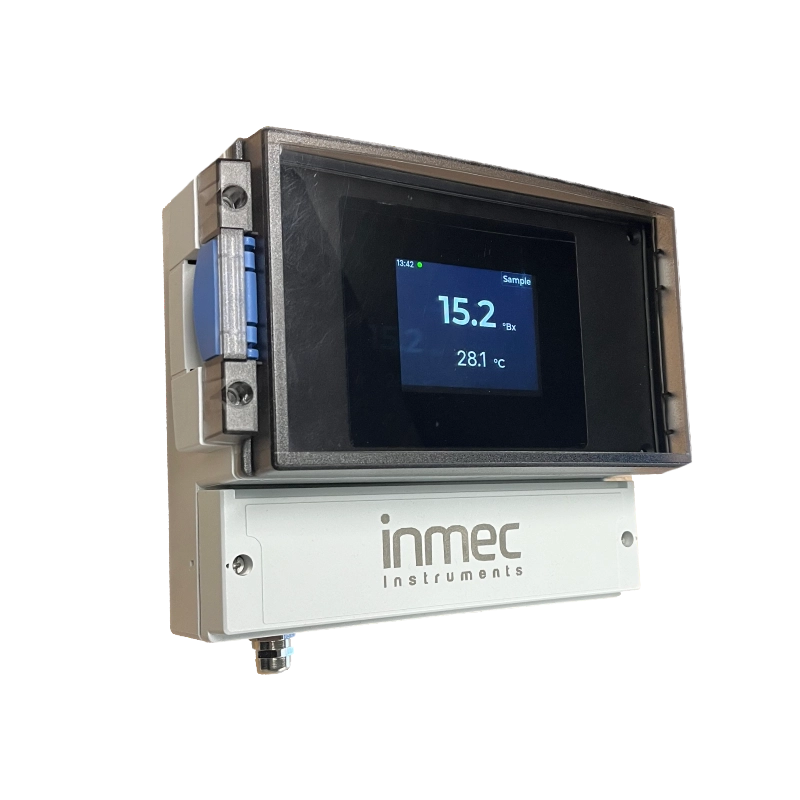
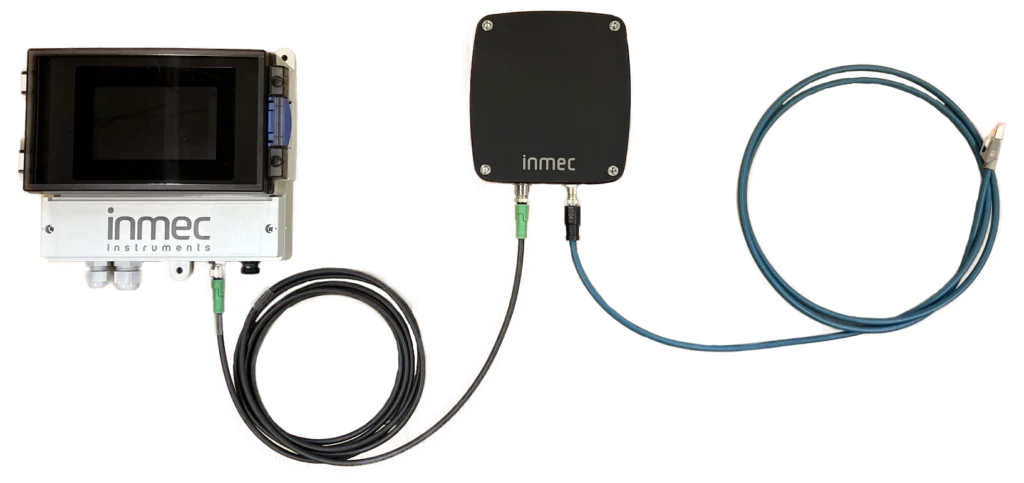
In-Box, Advanced Interface Unit
Do You Need a Local Interface?
Not necessarily. Every Inmec sensor operates as a stand-alone unit, powered by 24 VDC and providing output signals for Brix, total solids or other configured values. In the simplest setup, the sensor is wired through a junction box directly to your DCS or PLC, and a PC connection remains available for advanced settings and remote support.
The In-BOX is for installations where operators want the measurement at hand. The sensor connects to it with a 10 m cable, and its 5″ touchscreen shows live values, 1, 6 and 24-hour trends, and detailed measurement data. Two isolated 4–20 mA output signals send concentration and temperature to your control system, with optional Modbus TCP/IP over Ethernet.
Behind a PIN code, the In-BOX gives direct access to calibration against lab samples, measurement units, output scaling and alarm history. A PC connection enables remote support from our engineers.
- 5” Touch screen, TFT
- Interface to the sensor, RS-485
- Numeric data of measured solids and Temperature, °C / °F
- Advanced numeric data of all internal signals provided by the sensor
- Real time trending of last 1/6/24 hours
- PIN access
- Parameter tuning
- Sample data logging and calibration
- PC connection, RS-485/USB
Calibration Made Simple
Calibrate against your own lab results, directly at the sensor. No laptop, no service visit and no interruption to the process.
Take a sample
When you draw a lab sample, push Sample on the In-BOX screen. The sensor records its reading at that exact moment.
Enter the lab value
Once the lab result is ready, open the sample list and type it in next to the matching sensor reading. Add as many samples as you like.
Check the result
Hit Calibrate and the Lab vs Sensor graph shows exactly how the new calibration fits your samples before anything changes.
Save to sensor
One tap activates the new calibration, and the sensor uses it within seconds. Earlier settings stay in the history, so you can always go back.
Find the Right Accessories
Share your process details and our engineers will recommend the right configuration.